Continuous integration with Travis CI
Testing is an important aspect of software development, no matter if you use unit testing or if you run the software and manually test the features. In larger more complex systems, the latter method is usually very time-consuming and prone to miss a lot of bugs. That is why we have tools like unit tests and integration tests. To make our lives easier as developers, but also to make us more self-confident when pushing code changes.
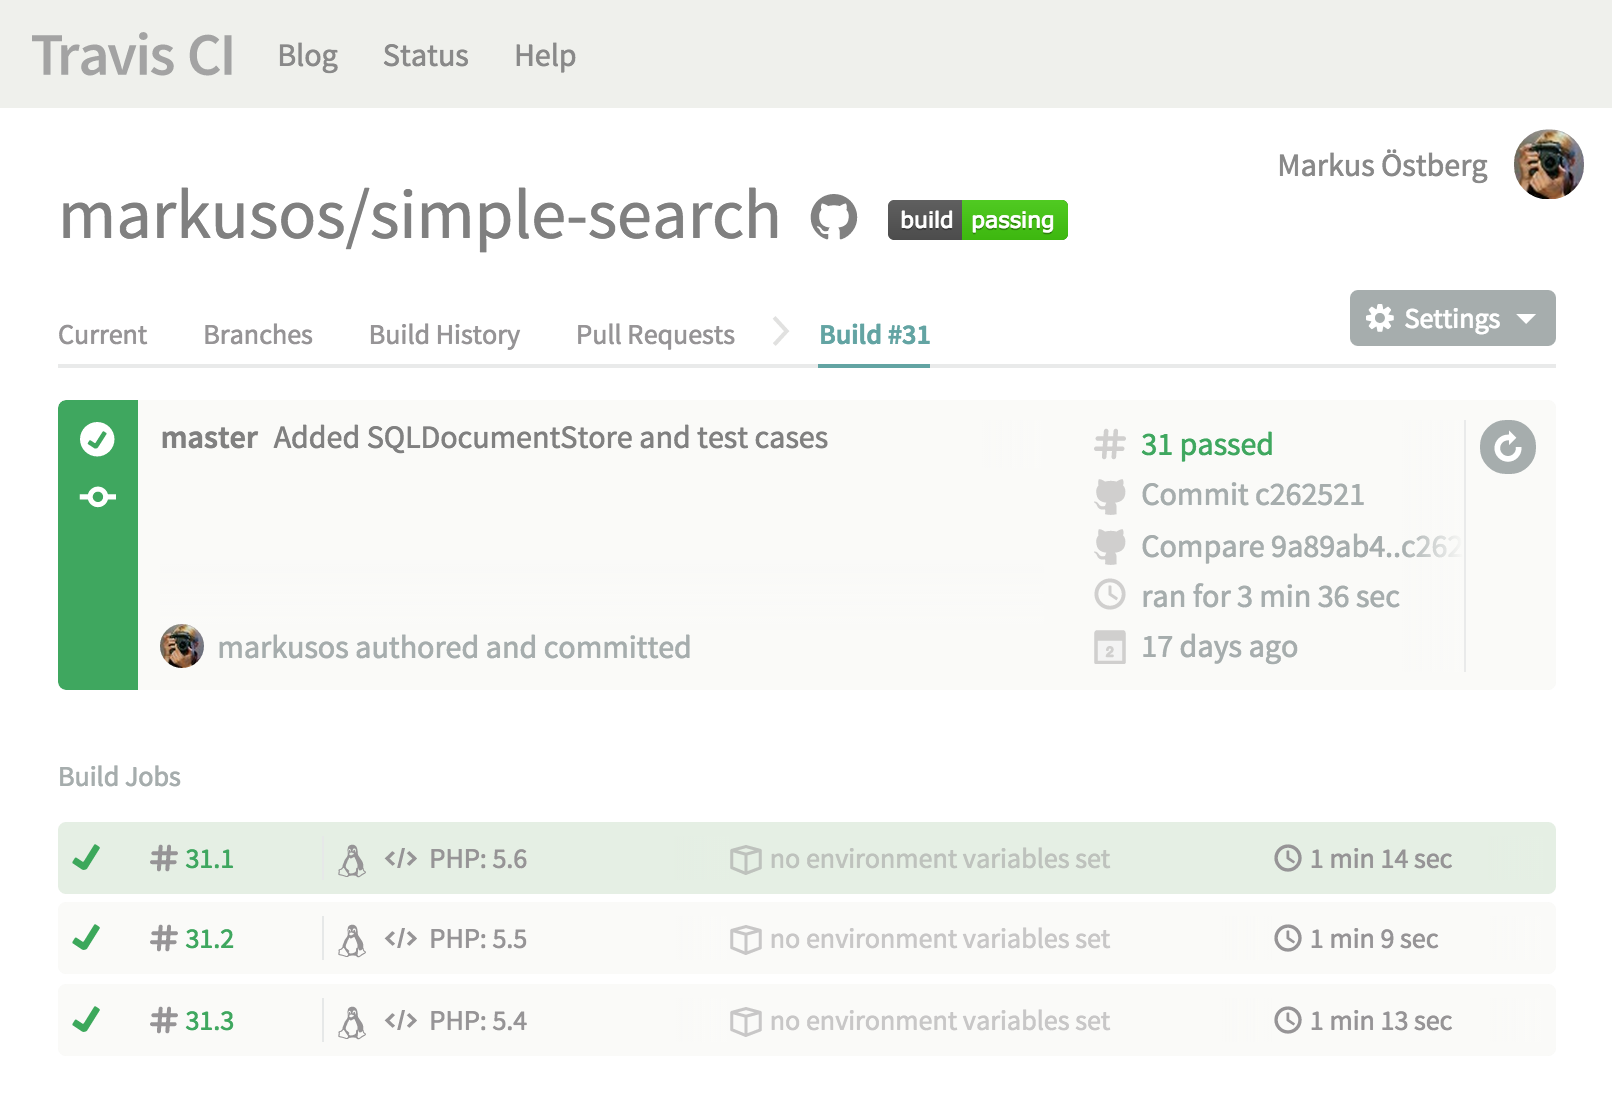
Most of us developers have probably been in a situation where we think everything is working fine, just to later find out that a small change we made broke something else. One way to avoid this is to have a build system, like Travis CI hooked up to your git repository. This means that every time you push new changes you know that the whole systems test suite will run. This means that it might be enough to do less local testing when doing minor changes, which speeds up the development process.
In this post, I’m gonna walk through the basics of setting up Travis CI for your GitHub repository.
The first thing you need to do is to take a look at the Travis CI website to see what it is all about.
To get started testing your own projects you need to go through these four steps:
- Sign in using your GitHub account.
- Select which projects you wish to test on your Travis CI profile page.
- Add a .travis.yml file to your git repository.
- Push the changes to GitHub
Now, each time you push some code your test suit will be run!
But wait a minute! Now you probably wonder what a .travis.yml file is and what it contains?
The .travis.yml file is instructions to Travis CI on how to test your code, and what services it needs to start and set up before it can start running your test cases.
Example .travis.yml file:
language: php

php:
  - 5.6
  - 5.5
  - 5.4

env:
  - TEST_SUITE=unit
  - TEST_SUITE=integration

services:
  - mongodb
  - memcached

before_script:
  - composer self-update
  - composer install --prefer-source --no-interaction --dev
  - phpenv config-add myconfig.ini

script: phpunit --coverage-text --testsuite $TEST_SUITE
The above .travis.yml file defines how to run the tests on a PHP project.
-
languageSet up the language-specific defaults.
-
phpSelect interpreter versions to run the tests on.
-
envDefine environment variables to run your tests with. The tests will run in parallel for each defined env variable.
-
servicesDefine what services need to be started. E.g Databases
-
before_scriptExecuted before the test script. Used to set up the test environment, e.g database settings or environment variables.
-
scriptRun the actual test command. The command needs to exit with code 0 to be considered a success, anything else is considered a failure.
For PHP, the command phpenv config-add myconfig.ini, in the before_script section, can be used to append additional settings to the php.ini files of the running interpreter. This is useful to add PHP extensions to the test environment.
Example myconfig.ini file:
# Setup test config for Travis CI
extension="mongo.so"
extension="memcached.so"
There are thousands of ways to configure Travis CI, the above sample just covers a few of the options. If you want to learn more you can read the build configuration documentation here!